Failure Analysis with X-ray CT Scanning
When products or components are being manufactured, they must be analyzed and monitored to meet specific requirements and comply with industry standards. However, failure of a material or component is only sometimes preventable in the first instance, which is why failure analysis is such a vital process. Failure analysis helps manufacturers understand why a part has failed and how it can be prevented in the future.
Several techniques are used for failure analysis, but X-ray computed tomography (CT) scanning is a common method. X-ray CT scanning is a computed-aided technique that produces high-resolution 3D images of a scanned component using irradiation. As a result, the images show an object’s internal structure, highlighting any cracks, flaws, porosity, or other damage that may have led to failure.
How Does X-ray CT Scanning Work?
X-ray CT scanning is a non-destructive imaging technique that uses an X-ray source to penetrate an object that needs to be scanned. Typically, a sample is placed on a rotating platform and is continuously exposed to X-rays throughout its rotation. The intensity of the X-rays absorbed by a detector depends on the thickness and material of the sample. It is worth mentioning that X-ray CT scanning is a highly effective method used in both industrial and medical industries. Still, there are differences depending on which application they are used for, and instruments are generally not used interchangeably across industries. This blog post will focus on industrial uses only.
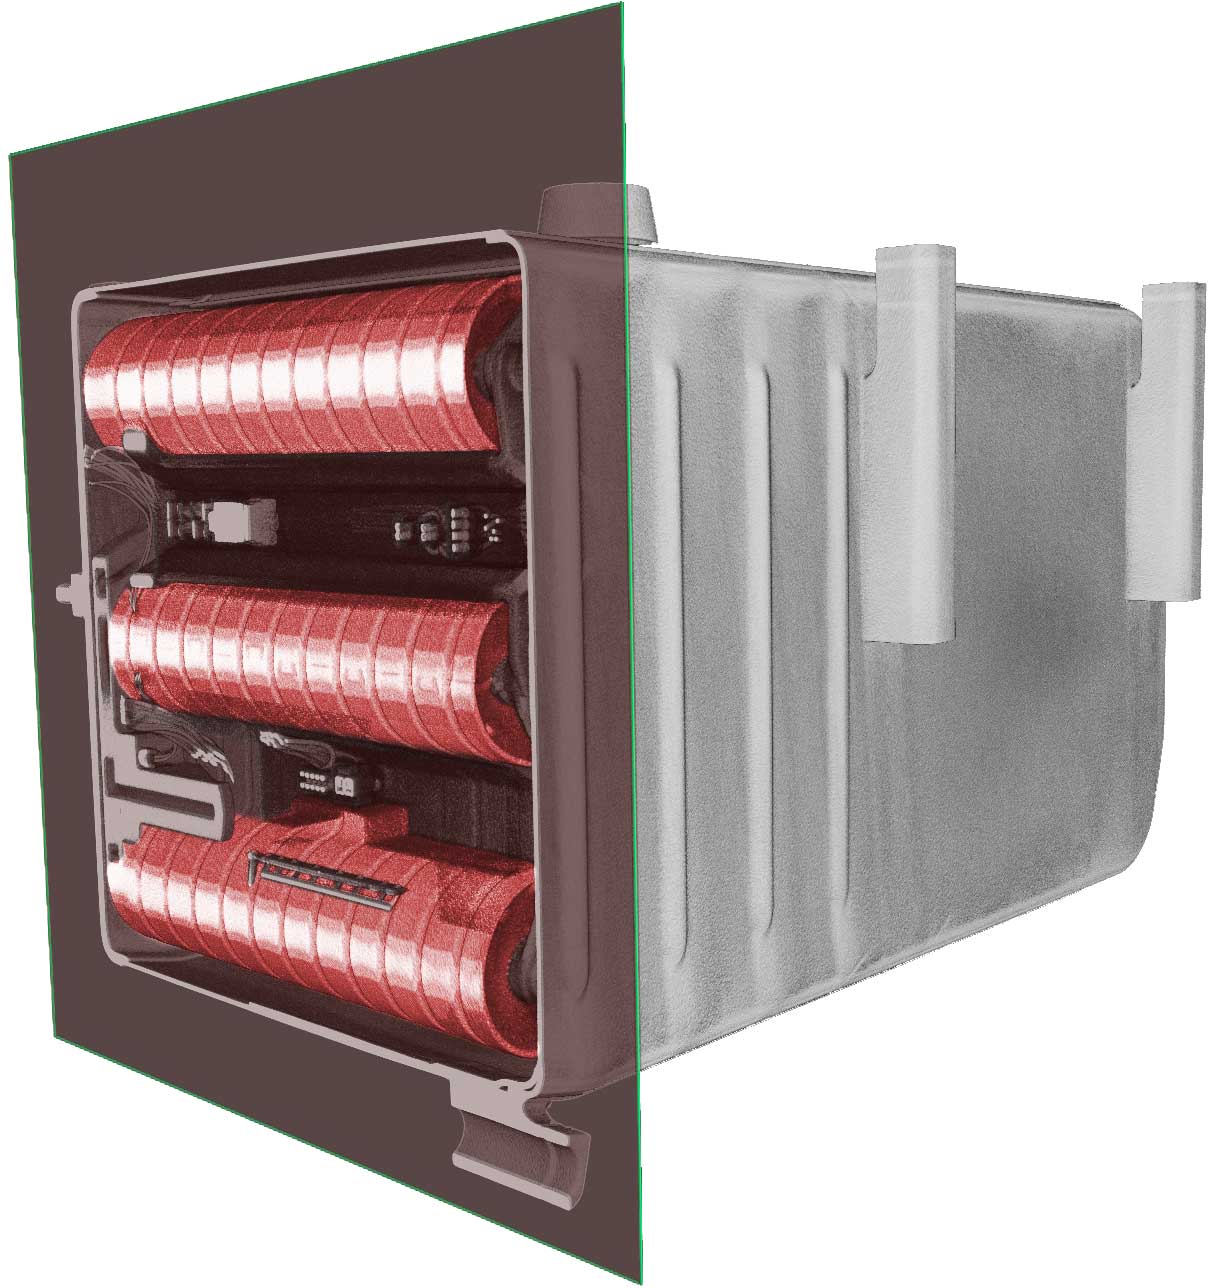
Once the detector receives the X-rays that pass through the part, the data is sent to a computer and reconstructed into a 3D volume and 2D cross-sectional images for evaluation. Once the 3D volume has been created, it can be viewed from any angle, and sliced through providing further details on the object’s internal structure.
Identifying Root Causes of Failure With X-ray CT Scanning
X-ray CT scanning is a non-invasive and non-destructive method of analyzing failed objects. It is a favored method as CT scanners, and X-ray imaging causes no further damage to a part, allowing for multiple testing and analysis if necessary.
Viewing a sample’s internal composition and structure is vital for failure analysis, as researchers can use 3D images to identify the location of a failure as well as any defects that may have caused the failure. Through X-ray CT scanning, researchers can analyze internal damage, such as cracks, inclusions, voids, and other irregularities that may have resulted in failure. By identifying these flaws or anomalies, engineers can use this information to help identify whether the root cause of the failure was in the design, the manufacturing process, or if other factors were contributors. This CT data is also extremely valuable in assisting the failure analyst in any destructive analysis to be performed. The data provides detailed information about the location of a failure internal to a product. The analyst uses this information to assure the cutting or disassembly of the product can be done in a way that will not damage or disrupt any of the failures material evidence. This assures that supportive evaluations can be performed by additional failure analysis methods such as optical and scanning electron microscope evaluations.
Aside from identifying damage or defects, X-ray CT scanning can be used to analyze an object for compliance reasons and to determine its overall quality. This testing can be helpful for both manufacturers and clients alike and support the development of new or improved materials.
North Star Imaging
North Star Imaging provides a full product range of 2D digital radiography, and 3D X-ray computed tomography inspection systems that can be used in many different applications – from failure analysis to reverse engineering. Our products are suitable for all non-destructive testing applications, so don’t hesitate to get in touch and learn more about our X-ray CT scanning solutions.


