CT Scanning for Structural Integrity and Aerodynamics
Computed Tomography for Aerospace Parts
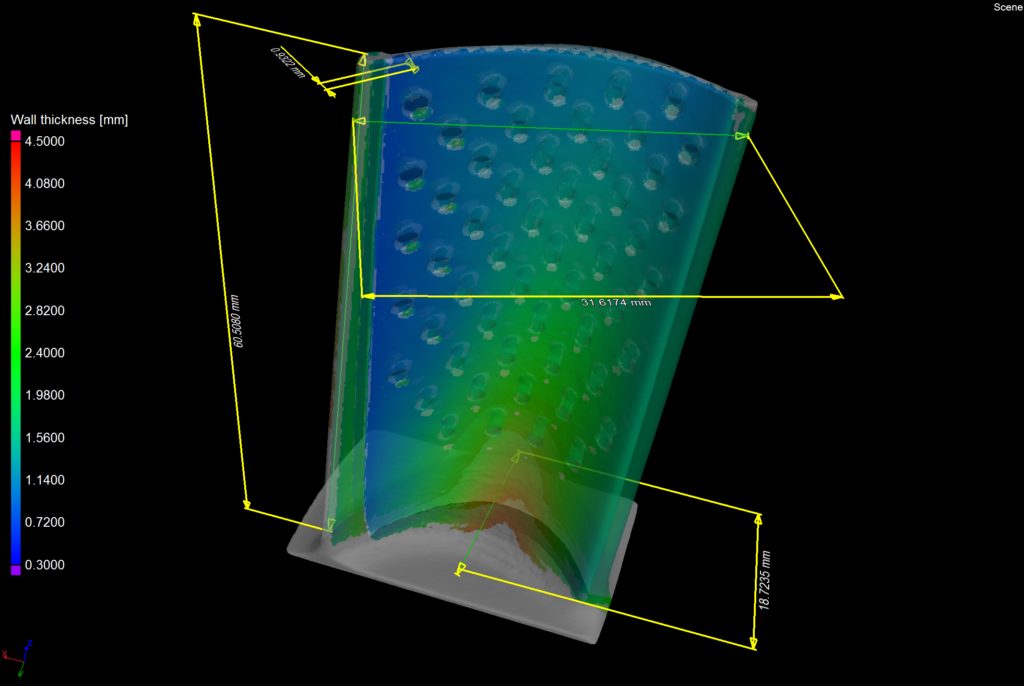
When inspecting complex turbine components, most demands can be met using computed tomography (CT) X-ray technology. It is important to examine several aspects of the blade to ensure quality and performance. Turbine manufacturers are typically concerned with the wall thickness, erosion and wear of the blade.
A wall thickness analysis can be done in Volume Graphics, color coordinating wall thickness to scale. You can set up predefined inspection with inspect/reject requirements to indicate if the wall thickness is too thin.
Airflow is also very important. When in use, air is pumped through to keep the blades cool. Vent holes are drilled after the cast process. It is important to inspect the drilling to ensure the drilling process did not create a hotspot by striking the back wall.
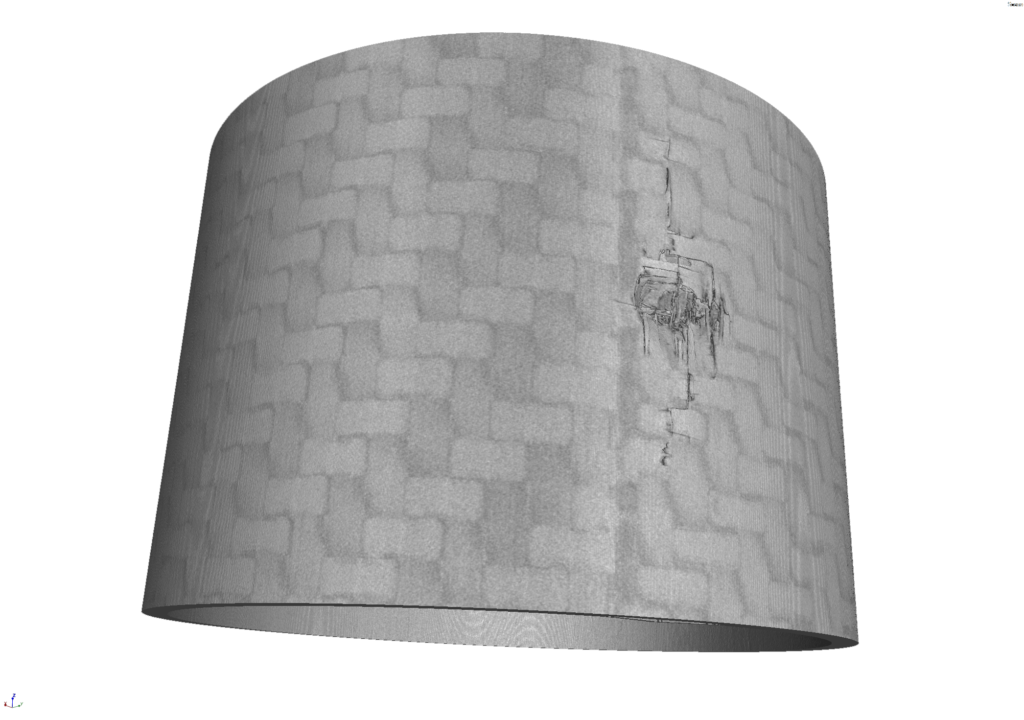
Typically, composite manufacturers are looking for delamination, porosities, wrinkles, fiber orientation problems, and lack of material.
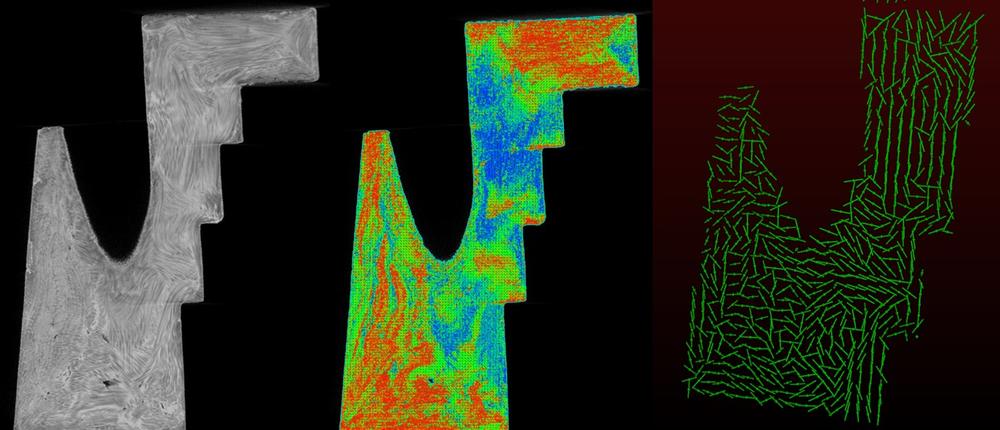
3D X-ray scanning is important because the composite material is made of layers, often with fibers distributed in three dimensions. Thus, the properties of the material are anisotropic, because they vary depending on the material orientation. Manufacturers are concerned about the layers coming delaminated because this causes a lack of reinforcement so the structure becomes compromised. Porosity detection is also important because porosity can be a stress point to create a delamination or a crack. Fiber orientation is the key to the strength of the structure they are assembling.
The 3D rendering capabilities of our proprietary efX-CT software allows for multiple virtual cross sections through the part in multiple axes, and the resolution often allows seeing individual composite fibers that are only a few micrometers in size. Delamination and wrinkles are detectable. Porosities are quantifiable and measurable.
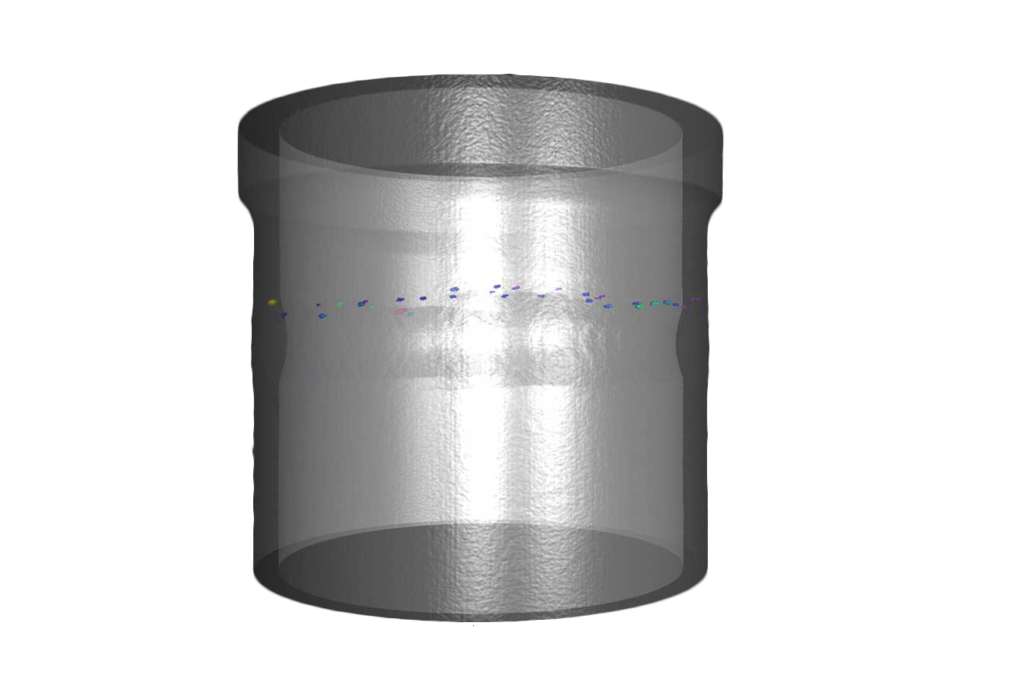
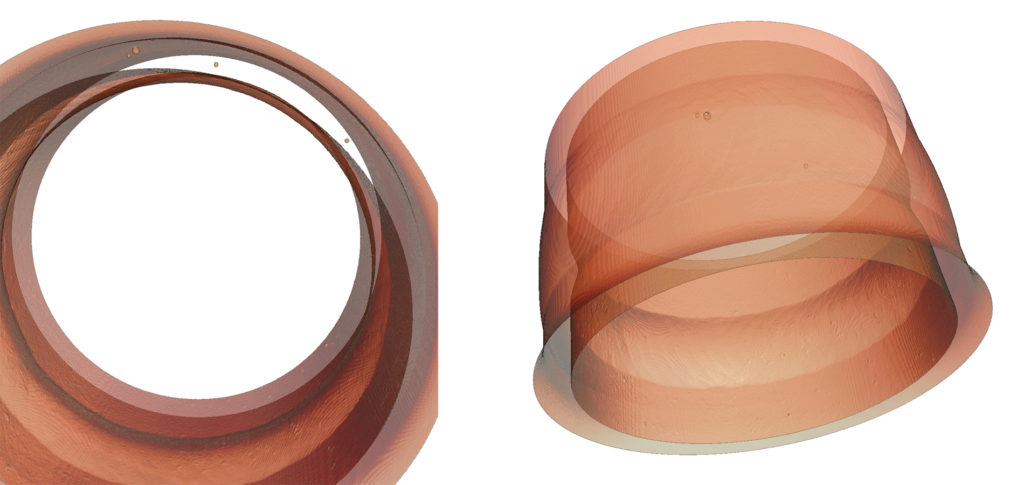
Computed Tomography allows you to focus on seeing the true indication and its location. Using 3D images, you can see the relationship of the actual indications, quantify their size and see the relationship to machine surfaces and edges.
Another dynamic feature of CT is the ability to create a surface rendering of the component. Creating a polygonal mesh to extract the surface information and the ability to define or surface items like gas porosity within a weld increases measurement ability and accuracy. With products like tube welds or castings where the material is relatively homogenous, the surface extraction can be very simple. In the case of our tubing weld, the porosity indications have a surface created around them, allowing post processing software to measure these features or create a porosity report based on threshold size settings for minimum and maximum indications. At this stage, the interpreter now has the full capability of reviewing the data in 3D. They can measure the indication, review spacing and orientation, and make decisions on part quality with data we have not had before.
Videos
Talk to Our Experts