Should I scan my whole sample or just a local area?
Before choosing an area to scan on your sample you must first have an idea of what you are looking for, because you will need enough resolution to see the area you are interested in.
If you have a sample with a 40 micrometer defect, you’ll want to have multiple pixels to represent that defect. Often times the defect size in the sample is not known, but an estimate based on your sample knowledge is very helpful in this process.
If your full sample size is 2 inches by 2 inches and you are using a 127 micrometer pixel pitch panel, you can expect to achieve around 7.5X magnification, giving you an estimated 17 micrometer voxel size. In theory, this will allow you to scan the whole sample and have a good chance of seeing that defect, represented by multiple voxels. If that sample is 8 inches by 8 inches and the defect of 40 micrometers in size is in a 2 inch by 2 inch section of that sample you can do a local area scan of that 2 inch by 2 inch section and achieve a 17 micrometer size. If the whole sample needs to be scanned you can do multiple CT scans on the whole sample to achieve the voxel size you need. You can apply the same idea to any pixel pitch panel size.
If you are not sure of the defect size, start with a full sample scan and look for any areas that are suspect. If you find a specific area that appears to have a defect, you can then do local, higher magnification scans on those locations. But if you have an idea of where the defect is, it makes more sense to start with a higher resolution scan in the known area.
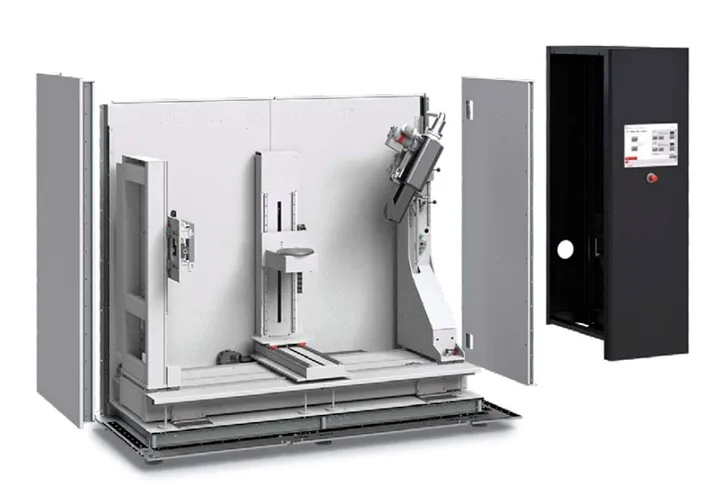
As X-ray technology evolves, the opportunities for software enhancement increase every day. Luckily for us, there’s a new technology that exists today that allows you to achieve higher resolution of the whole sample in one scan when limited to a certain detector size and/or pixel pitch.
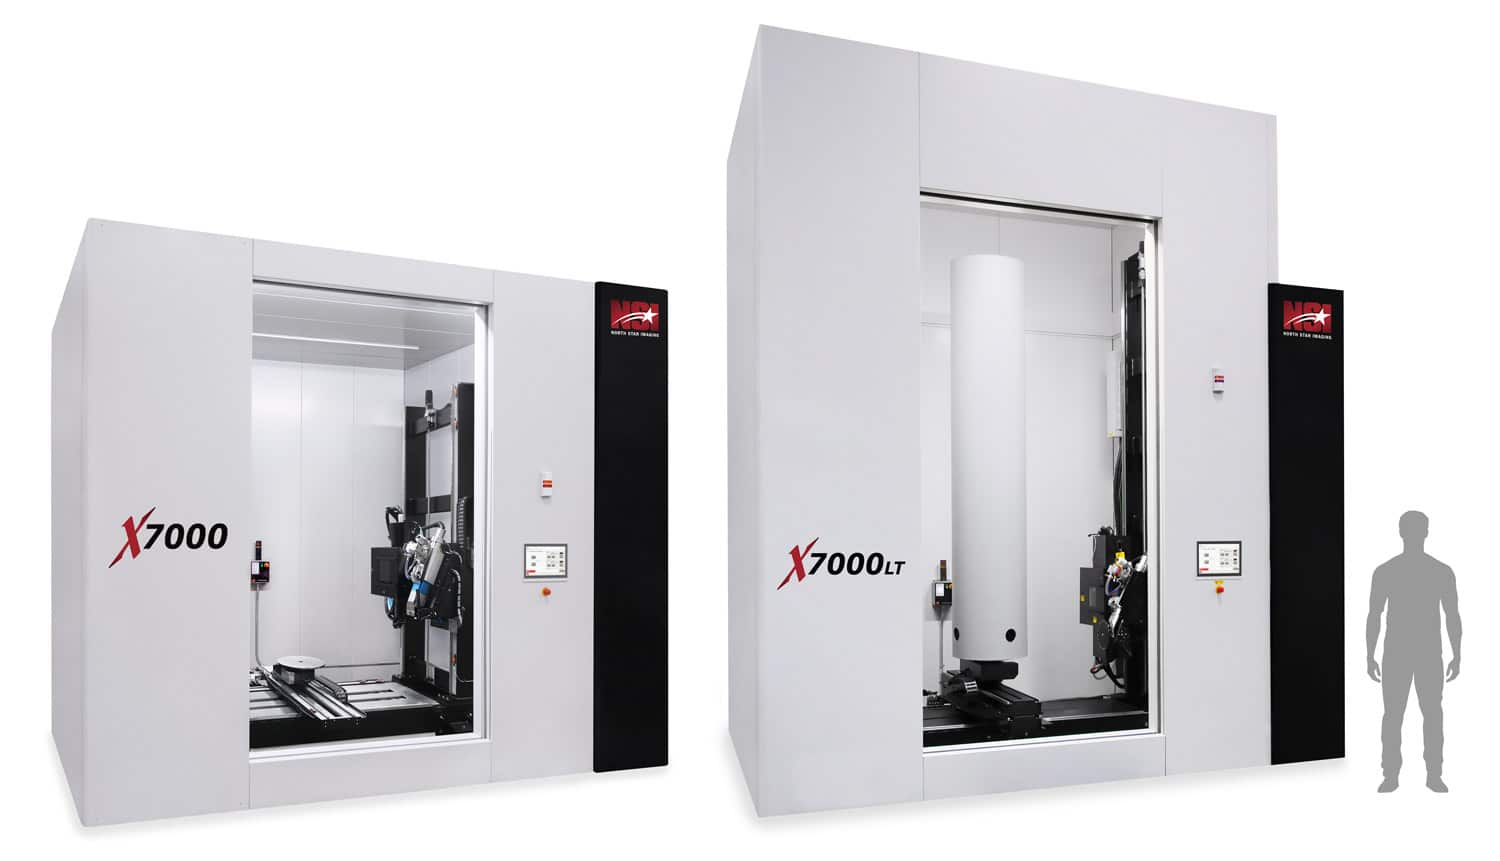
MosaiX allows you to shift the detector up, down, left, and right, as if you were using one large detector. For example, if you have an 8 inch by 10 inch panel and your sample is 10 inches by 12 inches you can shift the panel to scan the whole sample. Another benefit is if your sample is 5 inches by 6 inches and you need 2X magnification, you can now make you panel area larger and still achieve your 2X magnification versus the 1.6X magnification.
VorteX allows you to move the sample past the detector vertically and acquire the data to generate a full sample scan and minimize some of the standard cone beam artifacts like pole effect on spheres and streaking. For example, if you have a 2 inch wide by 15 inch tall sample you can scan this sample at a higher magnification by maximizing the 2 inches across the width of the detector and translating the sample past the detector vertically. Now you are achieving the voxel size of a 2 inch by 2 inch scan on the whole sample.
You can also combine MosaiX and VorteX together to make an even larger detector area and move the sample past the physical detector size which
will help with resolution, artifacts, and scanning envelope size.
Subpix gives you the ability to setup a scan and add pixels to your detector to achieve an even higher resolution on the detector. For example, my sample is 7 inches by 7 inches and I have a detector that is 16 inch by 16 inch with a 200 micrometer pixel pitch, but I need 50 micrometer voxel size scan results on the whole sample. If I scan this at 2X magnification with my standard scan I will only achieve 100 micrometer. But if I perform a 2 by 2 SubpiX scan, I can achieve 50 micrometer resolution needed and a 4 by 4 SubpiX scan will give you 25 Micrometers.